Kohler K-9379-BN Guide d'installation
Naviguer en ligne ou télécharger Guide d'installation pour Non Kohler K-9379-BN. KOHLER K-9379-BN Installation Guide Manuel d'utilisatio
- Page / 1
- Table des matières
- MARQUE LIVRES
Résumé du contenu
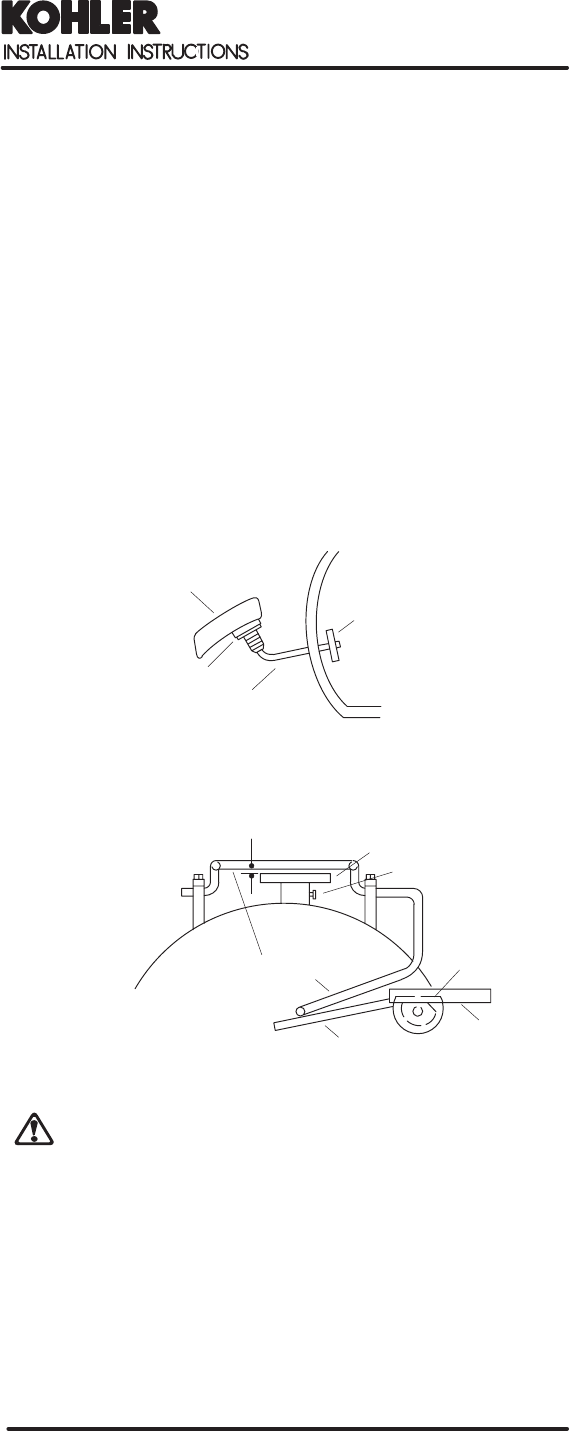
CAUTION: Risk of product damage. In the followingstep, do not overtighten or breakage mayoccur.Copyright 1997 Kohler Co. 115962-2-AA (-)
Produits connexes et manuels pour Non Kohler K-9379-BN


 (12 pages)
(20 pages)
(12 pages)
(24 pages)
(12 pages)
(16 pages)
(12 pages)
(16 pages)
(16 pages)
(2 pages)
(12 pages)
(20 pages)
(12 pages)
(24 pages)
(12 pages)
(16 pages)
(12 pages)
(16 pages)
(16 pages)
(2 pages)
© 2020, manymanuals.fr. Tous droits réservés | 0.300 s |
 Manymanuals.com
 Manymanuals.de
 Manymanuals.fr
 Manymanuals.it
 Manymanuals.pl
 Manymanuals.cz
 Manymanuals.es
 Manymanuals-pt.com
Commentaires sur ces manuels